| |||
| |||
How to Make Fiberglass Mudguards, plugs & moulds - VW Trikes
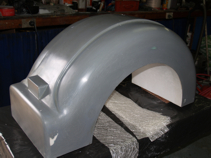
The plug has been made and now the mould for the trike's front fender is laid up using lightweight mat, finished with heavier grade mat. | 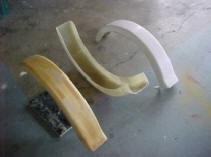 The full set - 'plug', 'mould' and the front trike fender. |
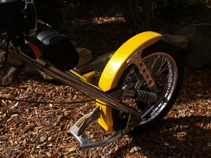
The finished front trike fender painted and fitted. | |
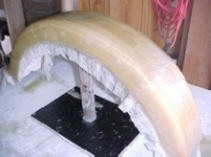
The plug for the rear trike fender has been waxed and polished to a mirror finish and allowed to sit for 48hrs prior to the 'lay-up'. |
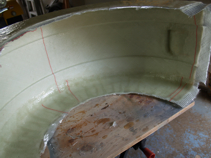
Laying-up the mould for the rear trike fender over the plug. The mould should be twice the thickness of the end product. |
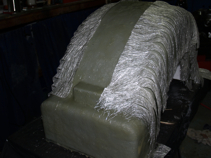
'Rolling out' the rear fender mould. Layers should be properly rolled-out to break the mat fibres. This allows better shaping to the mould contours and expels air bubbles. | |
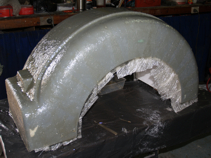
The finished mould for the rear trike fender is ready for 'break-away' after 24 hrs curing and then given another 48 hrs before use. |
Laying-up the rear trike fender. Lightweight matting is used first, then finished with a heavier weight mat.. |
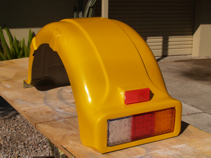
The finished rear trike fender. Stiffening underneath the fender gives rigidity and mounting. | |